Day 30 involves deploying the frontend to IPFS and the smart contract to a testnet, and conducting tests on the testnet.
What is IPFS?
IPFS (InterPlanetary File System) is a decentralized file storage system and protocol, proposed as the next-generation infrastructure for the Web. IPFS distributes data across nodes worldwide, providing and retrieving data as an alternative to traditional centralized servers. The following are the main features and concepts of IPFS succinctly summarized:
- Decentralized: IPFS is designed to have no single point of failure (Single Point of Failure) by distributing data over a peer-to-peer (P2P) network.
- Persistence: In IPFS, data is addressed based on the hash of its content. As long as the data doesn’t change, its address remains the same. This characteristic provides data persistence and immutability.
- Efficiency and Speed: Users can retrieve data from the nearest node, making data acquisition faster. This is more efficient than the traditional central server method.
- Offline and Partition Resilience: IPFS operates even when part of the network is offline. In other words, data access is still possible through local IPFS nodes in areas where the network is partitioned or the internet is unavailable.
- Security: As all content is addressed by hashes, data integrity and authenticity are maintained.
Deployment
Deploying the Contract to a Testnet
We will redeploy the smart contract Funding, implemented on day 17, to a testnet (in this case, Sepolia). Simultaneously, the files in the constants folder on the frontend side will be updated, incorporating the deployed contract’s address and ABI as a result of the deployment.
The execution result of the command is as follows. We specify the network option and set the network name to Sepolia.
% yarn hardhat deploy --network sepolia
yarn run v1.22.19
$ /Users/username/code/token-village/funding/node_modules/.bin/hardhat deploy --network sepolia
Nothing to compile
No need to generate any newer typings.
Writing abi and contract addresses to frontend...
abi and contract addresses written!
✨  Done in 3.75s.
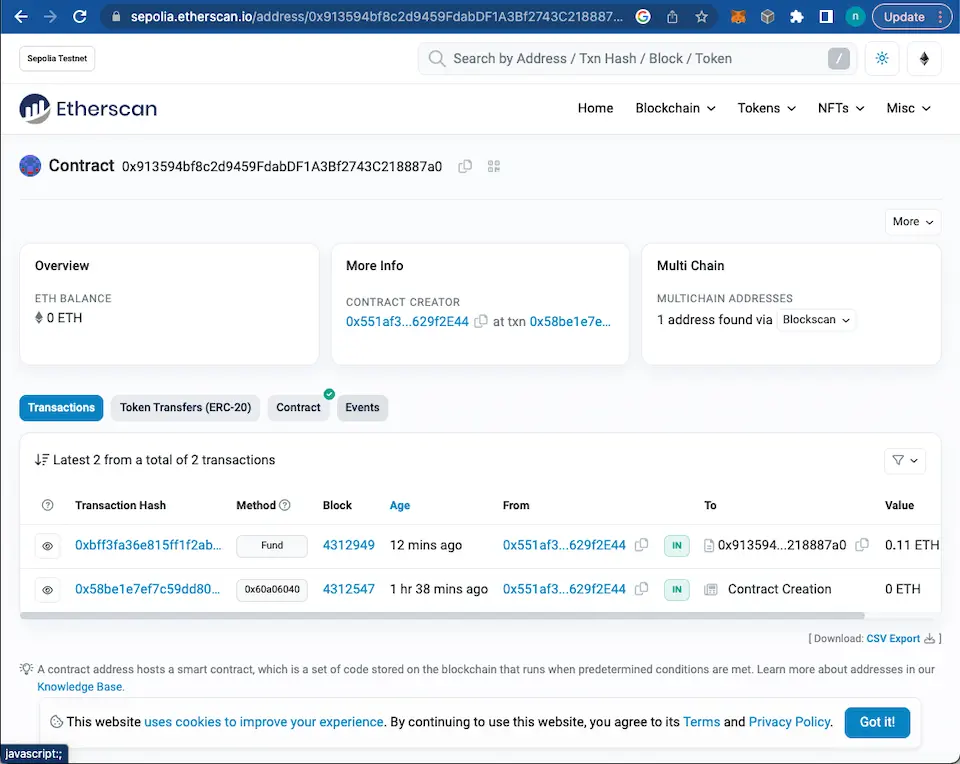
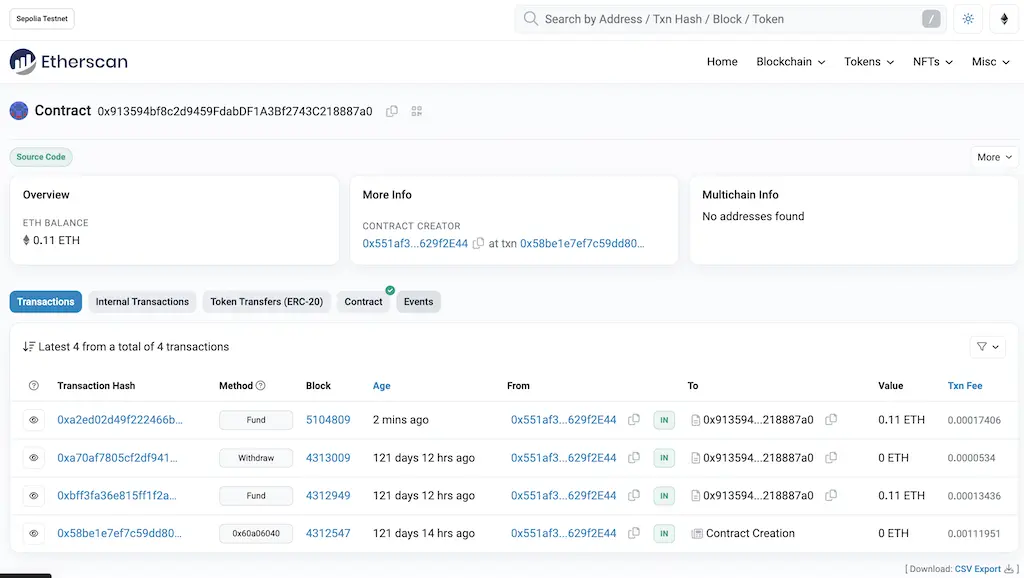
Once the deployment is complete, it becomes visible on Sepolia’s version of Etherscan. It will look like this (note that this capture is not taken immediately after deployment).
Deploying the Frontend to IPFS
Build and Export
First, verify that the files in the constants folder of the frontend project, especially contractAddresses.json, have been updated. The following is an example from the author, where you can see that the Chain ID of the Sepolia network, 11155111, is included.
{"31337":["0x5FbDB2315678afecb367f032d93F642f64180aa3"],"11155111":["0x913594bf8c2d9459FdabDF1A3Bf2743C218887a0"]}Next, if the local frontend is running, stop it (on the console, use Ctrl+C), and then proceed with the build and export. To execute these, add settings for the two commands, next build and next export, in the scripts section of package.json.
{
  "name": "nextjs-funding2",
  "version": "0.1.0",
  "private": true,
  "scripts": {
    "dev": "next dev",
    "build": "next build",
    "start": "next start",
    "lint": "next lint",
    "export": "next export"
  },
...
}
To execute these commands with npm, additions to package.json are typically necessary, but you can also execute them with npx next build and npx next export (npx is a command-line tool provided as part of npm, with one of its purposes being the execution of locally installed tools and commands. If included in the local node_modules, commands can be executed directly with npx).
The result of the build and export execution is as follows. An out directory is created at the root of the project folder, and this directory is then imported to IPFS.
% npm run build #build command

> nextjs-funding2@0.1.0 build
> next build


...

λ  (Server)  server-side renders at runtime (uses getInitialProps or getServerSideProps)
○  (Static)  automatically rendered as static HTML (uses no initial props)

- info Creating an optimized production build ..%
% npm run export #export command

> nextjs-funding2@0.1.0 export
> next export

...

- info Exporting (3/3)
Export successful. Files written to /Users/username/code/token-village/nextjs-funding/out
Importing to IPFS
First, install IPFS Desktop, the GUI tool for IPFS, on your local machine. Download the package for your OS from the IPFS release page and install it.
Open IPFS Desktop and select Files > Import > Folder to import the out directory mentioned previously.
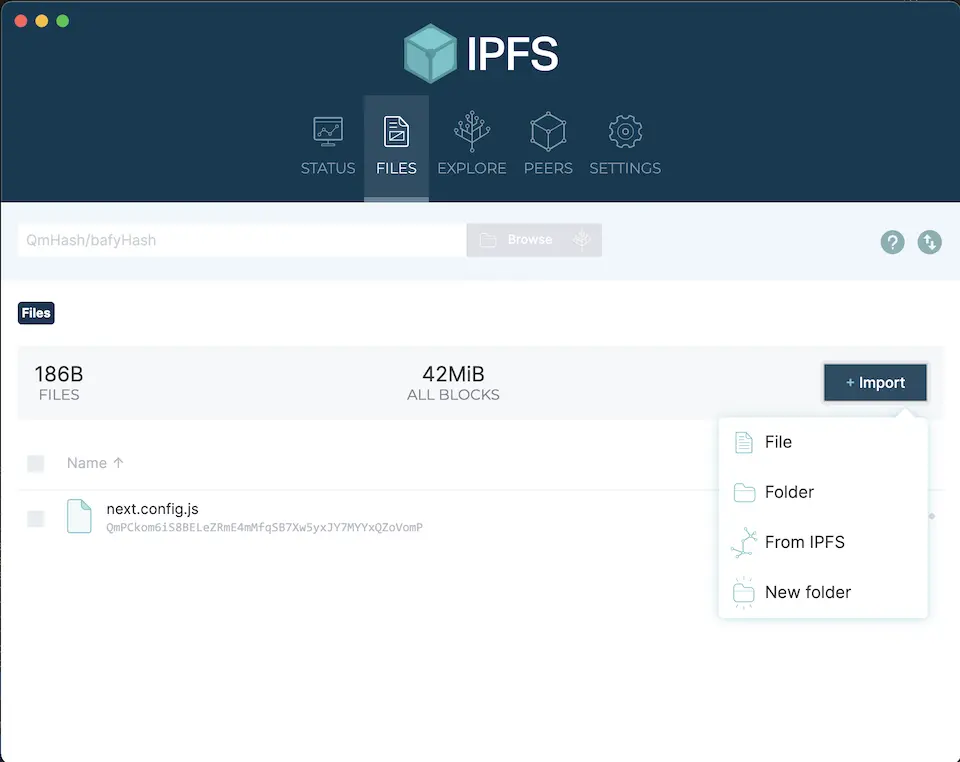
Once imported, the out directory will appear under Files. Click the ... icon on the line of the out directory to display a menu and select Copy CID from there. CID stands for Contents Identifier, which is a hash value of the content (the same content always shows the same hash, and the CID changes when updated).
Once imported to IPFS, the page can be accessed in a browser by typing ipfs://<CID>. ※ One of the browsers that accurately supports IPFS is Brave. You can proceed with other browsers, but generally, it’s smoother to proceed with Brave (in this case, installing Metamask in Brave and importing an existing wallet (entering 12 passphrase words) is also necessary).
Testing on the Testnet
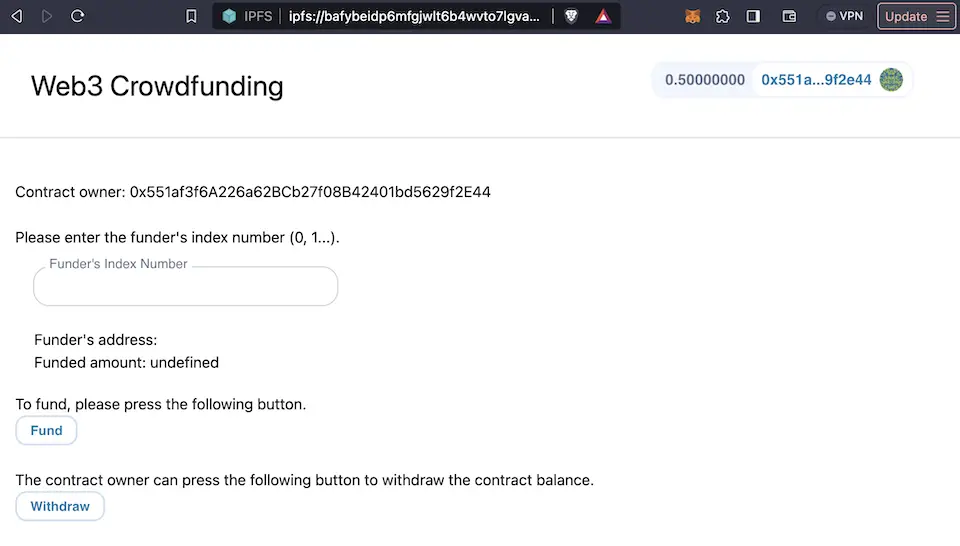
As a trial, when you press “Fund” on the screen, after a while, the following screen (indicating the success of the transaction) is displayed.
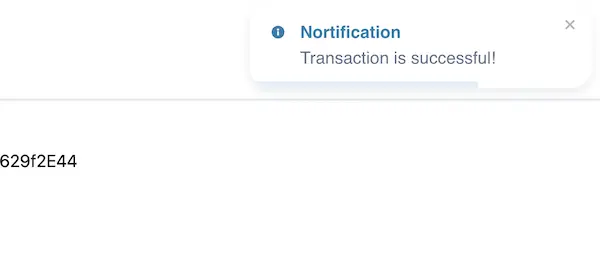
As a result, 0.11 ETH is sent to the address of the deployed contract. The actual balance of the contract can be checked on Etherscan (as shown in the next screen).
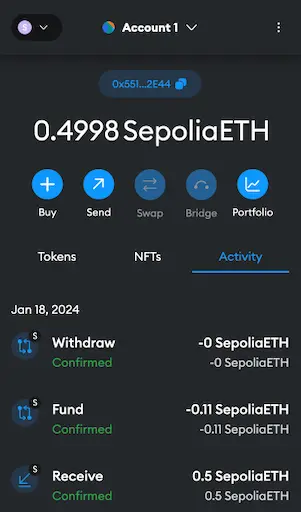
When the same account executes “Withdraw,” the balance in the wallet returns to an amount close to the original value (minus the gas fee).





Comments